How to Make a Paper-Bag Kite
Did you know that April is National Kite Month? You know what that means, it is time for a fun homeschool handiwork craft! Making a kite can be frugal or expensive. We’re gonna go with frugal because my mama raised me right. Let’s get started on your own DIY kite!
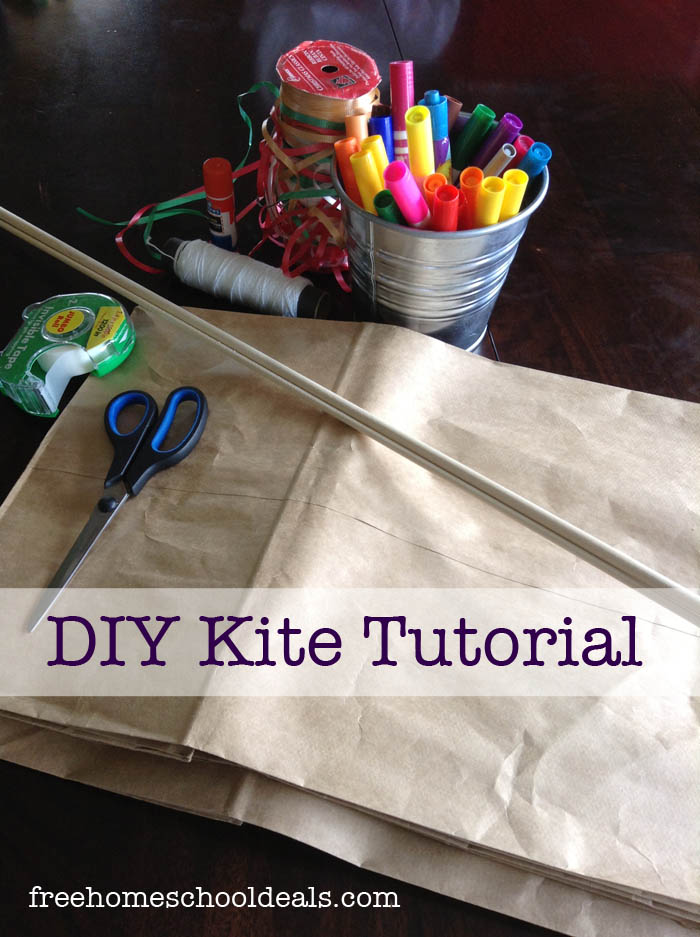
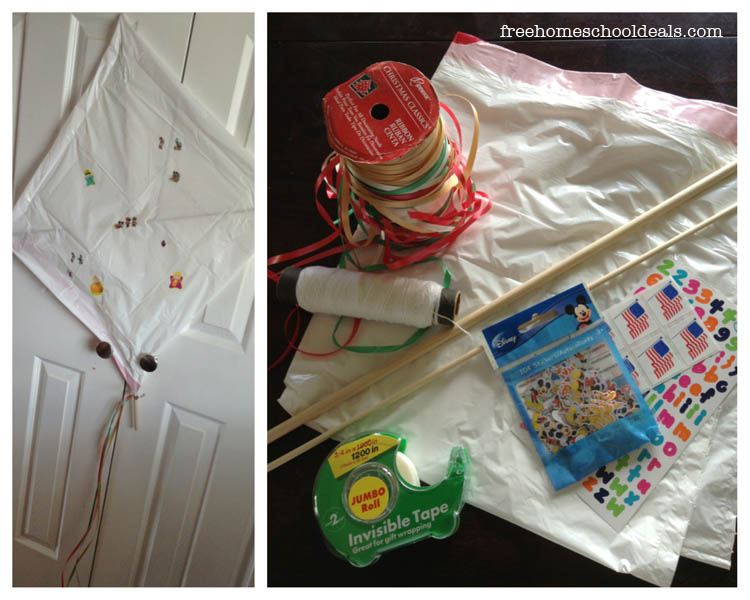
For this project, you will need the following:
- 2 paper grocery bags
- 2 thin dowel rods (I used 3/16″ and 5/16″)
- glue stick and tape
- markers, pens, colored pencils, etc. for decorating your kite
- string
- ribbon
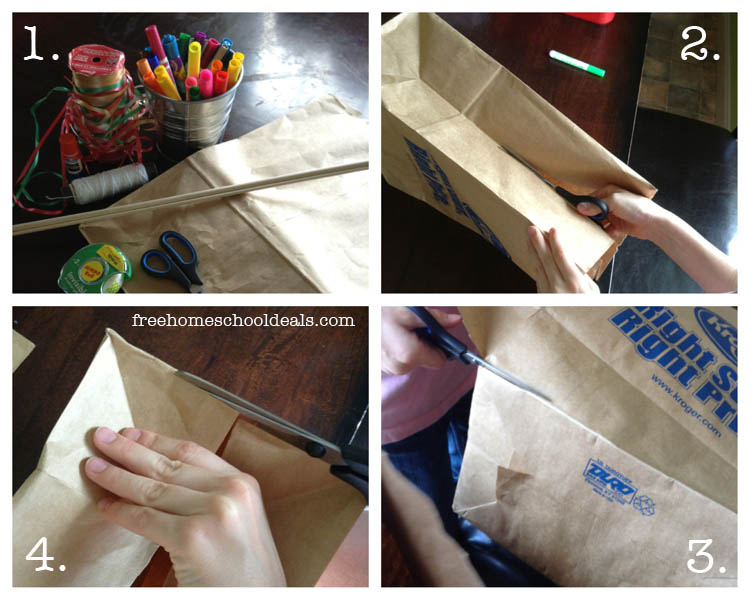
1. Gather your materials.
2. Cut your paper bags down one side seam.
3. Cut the bottoms out of your bags.
4. Smooth out your bags so that you have a flat surface to work with (not pictured).
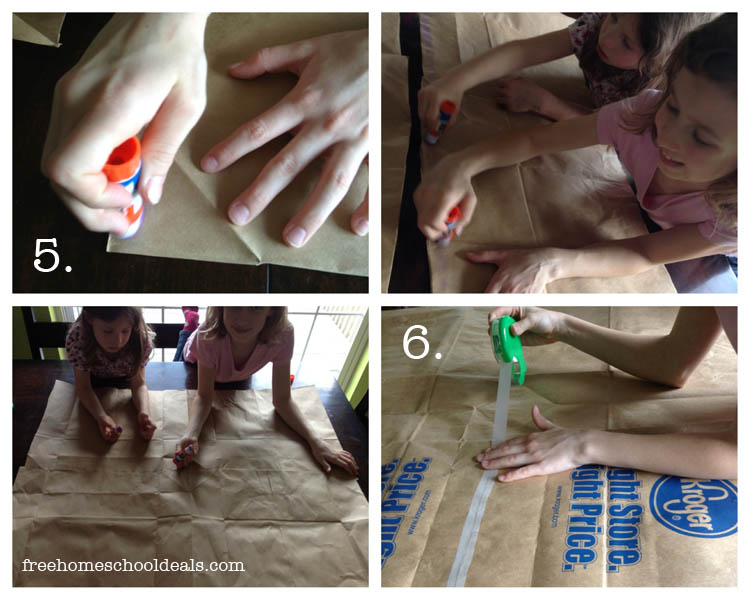
5. Glue the long edges of your bags together, overlapping about 1″. Be sure that you match the plain sides and the printed sides together!
6. Flip your kite to the printed side and reinforce your seam with tape.
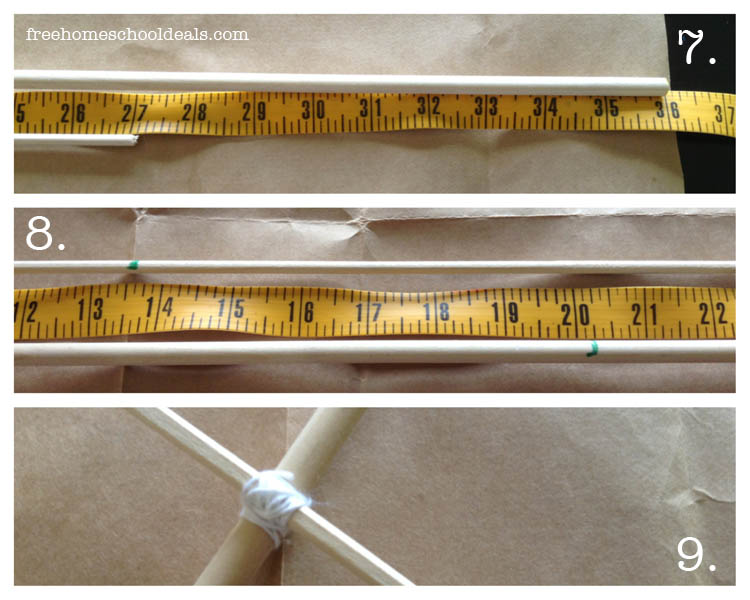
7. Leave your thicker dowel rod at 36″. Cut your thinner rod down to 27″ long.
8. Mark your 36″ rod at 20″ with a marker. Mark your 27″ rod at 13.5″ with a marker.
9. Cross your dowel rods at your marks and tie them securely together with string.
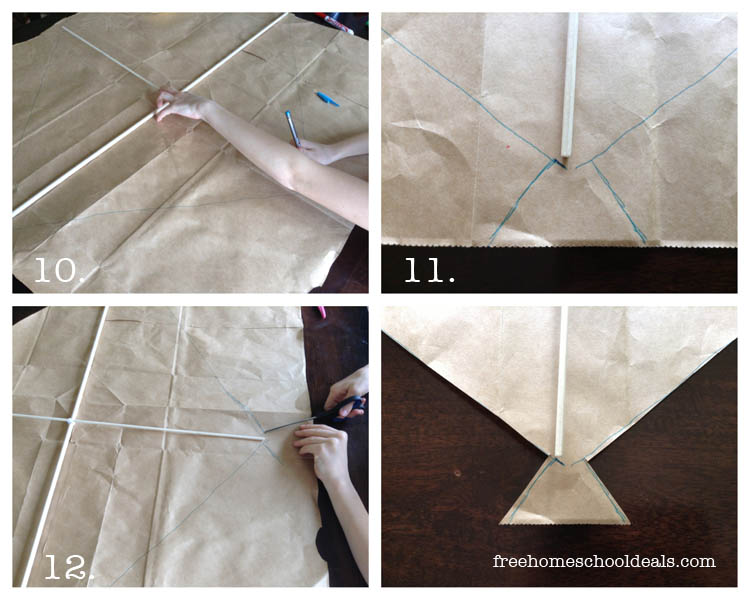
10. Lay your cross on your paper bags. Using a straight edge (ruler, string, measuring tape, etc.), mark a line from point to point creating a diamond pattern the size of your crossed dowel rods. Position your dowel rods so that the shorter rods have some room left on the sides.
11. At the points of the shorter dowel rods, draw a triangle out away from the points (see #11 in the photo above for a better understanding).
12. Cut out your pattern, reserving what you cut away for step 13. Your shorter sides will look like the bottom right photo above.
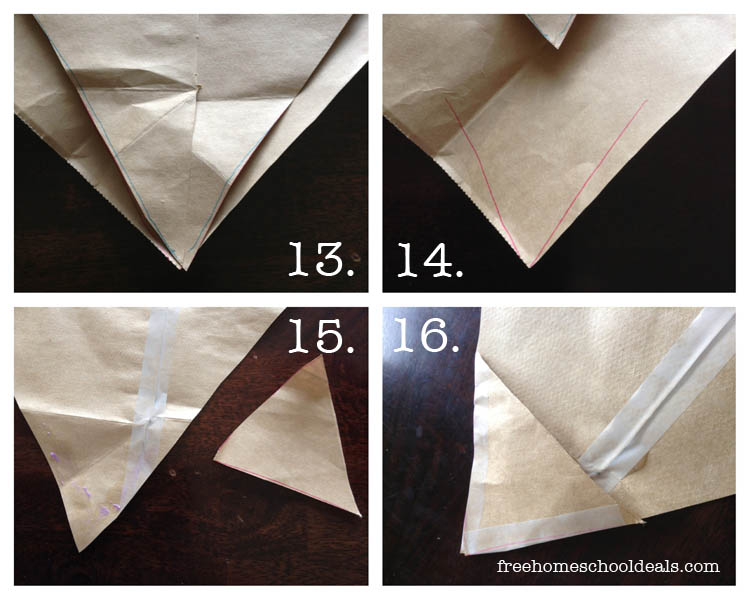
13. Place a scrap from step 12 under the top and bottom of your kite. Trace the point onto your scrap.
14. This is what it should look like. Cut it out, cutting across about 2″-3″ from the point to create your triangle.
15. Glue the sides of your triangle to the bottom of your kite to form a pocket on the BACK side of the kite.
16. Reinforce your sides and point with tape.
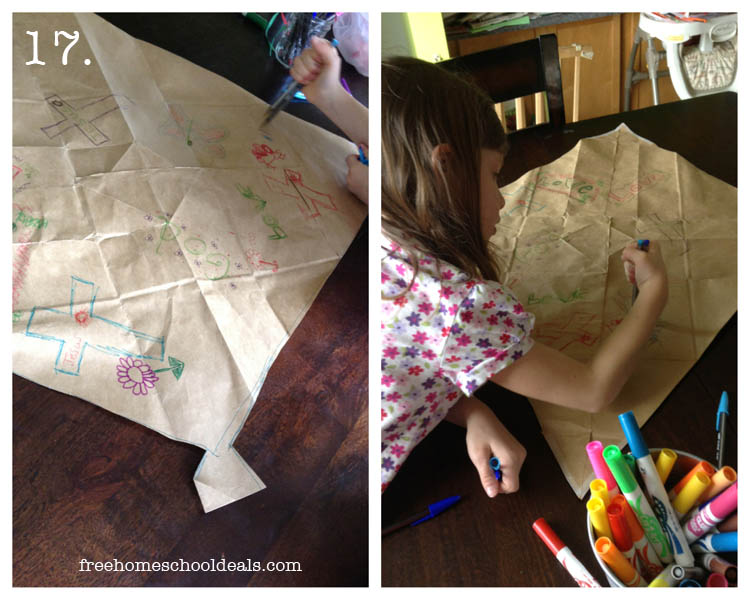
17. Flip your kite pattern to the blank side and decorate your kite.
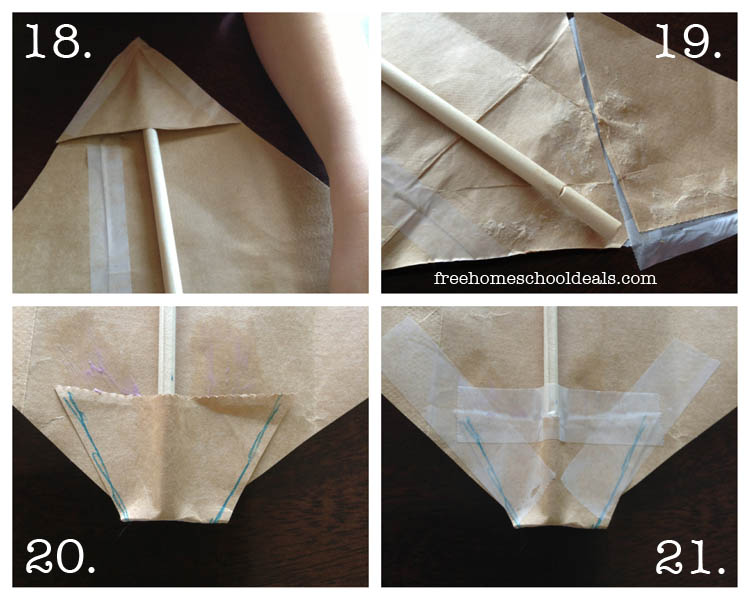
18. Insert the bottom of the long dowel rod into the pocket on the bottom of your kite.
19. Using the same process as before, create a pocket over the top of the dowel rod (steps 13-16).
20. On the sides of your kite, fold over and glue down the triangles we made in step 11.
21. Reinforce your seams with tape.
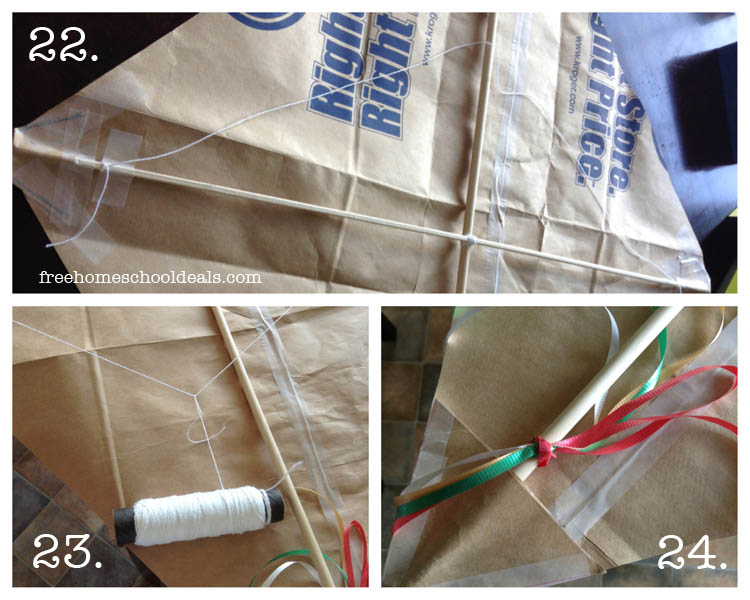
22. Tie a section of string to each side of your shorter dowel rod (you don’t want as much slack as I have pictured). Attach tape to either side of where your string is tied to the dowel rod for reinforcement.
23. Tie your spool of string to the string attached to your kite (or attach a leftover kite string from a commercial kite you may have laying around).
24. Attach a ribbon tail to your kite.

Ta da! You have a kite!
Would you like a bonus? Here is an even easier kite to make that uses a trash bag!
You can find the instructions for this kite at Squawkfox.
Vicki Arnold is a happy wife to one, busy homeschooling mama to four, and blogger. You can find her blogging at the Vicki Arnold blog – where P31 & Titus 2 meet Colossians 3:23. She likes to talk about gardening, homeschooling, and homemaking. If she’s not there, you can probably find her on Pinterest.
Latest posts by Free Homeschool Deals (see all)
- FREE Summer Learning Activities & Printables for Kids - April 2, 2026
- FREE Bible Journal Pages & Scripture Study Printables - March 24, 2026
- FREE Martin Luther King Jr. Homeschool Resources — Printables, Unit Studies & More - March 24, 2026
- FREE Bible Verse Cards & Scripture Printables - March 24, 2026
- Essential Homeschool Supplies List — Must-Have Materials - March 14, 2026

Thank you so much for this! I”m always wanting to go kite flying with my grand-kids but don’t want to purchase one; so this solves the issue!